How Long to Microwave Corn? Perfect Cook Times & Tips
Tired of waiting for a huge pot of water to boil or firing up the grill just for a couple of ears of corn? If you're looking for a lightning-fast, incredibly easy, and mess-free way to enjoy that sweet taste of summer, learning how to
microwave corn on the cob is about to become your new favorite kitchen hack. This method doesn't just save time; it consistently delivers perfectly steamed, juicy kernels that burst with flavor.
Whether you're a busy parent needing a quick side dish, a student craving an easy snack, or simply someone who appreciates efficiency in the kitchen, microwaving corn on the cob is a game-changer. Forget the fuss and embrace the microwave for a perfectly cooked ear in mere minutes.
Why Microwave Corn on the Cob? The Ultimate Convenience
The microwave might not be the first appliance that comes to mind when you think of cooking corn on the cob, but it's arguably one of the best for several compelling reasons:
*
Unbeatable Speed: Traditional methods can take 10-20 minutes, not including the time to heat water or a grill. Microwaving cuts that down to just a few minutes per ear, making it an ideal choice for last-minute meals or when hunger strikes.
*
Effortless Preparation: With some methods, there's virtually no prep involved beyond placing the ear in the microwave. No shucking beforehand, no cleanup of a large pot.
*
Perfect Moisture Retention: When cooked properly, especially in its husk or wrapped in a damp paper towel, the microwave acts like a steam oven, trapping moisture. This results in incredibly juicy, tender kernels that are never dry or tough.
*
Ideal for Small Batches: Don't want to cook a dozen ears for just one or two people? The microwave is perfect for single servings or small family meals, making it incredibly economical in terms of energy and time.
*
Doesn't Heat Up Your Kitchen: A huge bonus during hot summer months! Avoid turning on your stove or oven and keep your kitchen cool while still enjoying fresh corn.
*
Works for Fresh or Frozen: This method isn't just for farm-fresh produce. You can easily microwave frozen corn on the cob, bringing that sweet summer flavor to your plate even in the depths of winter. Simply adjust the cooking time slightly, usually adding a minute or two.
Microwave Corn on the Cob: Two Easy Methods Explained
There are primarily two popular and effective ways to
microwave corn on the cob, each with its own advantages. Both are incredibly simple, but one offers a unique, mess-free experience.
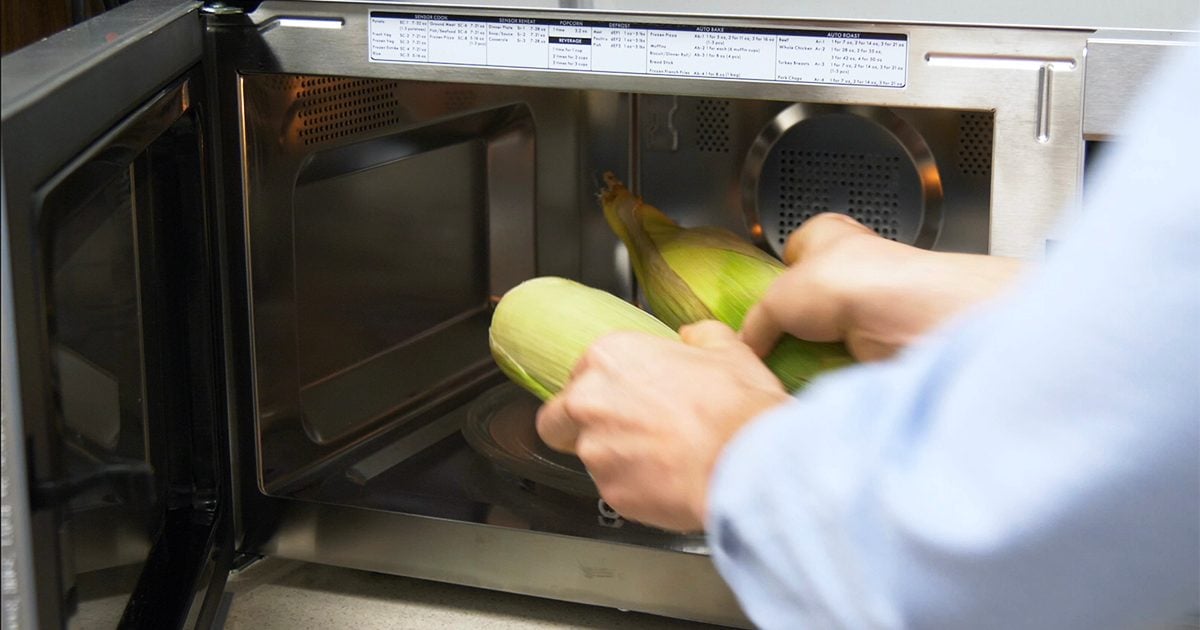
Method 1: Microwaving Corn in the Husk (The No-Mess Way)
This is often considered the *best* way to microwave corn on the cob, primarily because of its sheer simplicity and the magical way the silk practically slides off after cooking. The husk acts as a natural steaming pouch, locking in moisture and flavor.
1.
Prepare the Corn: Begin by trimming off most of the stalk at the base of the corn, but don't expose the kernels. You want to leave the entire ear wrapped in its natural protective layers. Remove any very loose outer husks or silks, but keep the ear mostly intact. The goal is to make it fit comfortably in your microwave and be tidier, not to pre-shuck it.
2.
Microwave on High: Place the corn directly into the microwave. The cooking time will vary depending on the number of ears and your microwave's wattage. Generally, you'll microwave for about 4 minutes per ear. We'll delve into precise timings shortly!
3.
Cool Slightly: Once cooked, the corn will be incredibly hot. Let it cool for 2-3 minutes before handling. This allows the internal steam to work its magic and also makes it safe to touch.
4.
Remove Husk and Silk: This is where the magic happens! With a sharp chef's knife, carefully slice off the very bottom of the ear (the part where you trimmed the stalk), cutting through a few rows of kernels. Then, hold the top of the ear and squeeze. The perfectly cooked corn will slide right out, leaving the husk and all the pesky silks behind! It’s truly a satisfying, mess-free experience.
For a deeper dive into this fantastic technique, including step-by-step visuals and more specific tips, check out our guide on
Cook Corn in the Husk: Juicy Microwave Method, No Mess!
Method 2: Microwaving Shucked Corn (For Quick Prep)
If you've already shucked your corn, or prefer to see the kernels before cooking, this method is equally quick and effective. It relies on a moist paper towel to create the necessary steam.
1.
Shuck the Corn: Remove all the husks and silk from the ear of corn.
2.
Dampen a Paper Towel: Lightly wet a paper towel and wring out any excess water so it's damp, but not dripping.
3.
Wrap the Corn: Wrap each shucked ear of corn individually in the damp paper towel. This creates a steamy environment that cooks the corn perfectly.
4.
Microwave: Place the wrapped corn in the microwave. For a single medium ear, you'll typically cook it for 2-5 minutes.
5.
Rest and Serve: Carefully unwrap the hot corn (watch out for steam!) and it's ready to serve.
This method is fantastic if you're working with corn that's already shucked or if you prefer to have it ready to butter and season immediately. Find more details on this approach in our
Microwave Corn on the Cob in Minutes: Quick & Easy Guide.
How Long to Microwave Corn? Perfect Cook Times
The key to perfectly microwaved corn is understanding that cook times can vary. Several factors influence how long your corn needs in the microwave:
*
Number of Ears: More ears mean longer cooking times, as the microwave needs to heat more mass.
*
Microwave Wattage: Higher wattage microwaves (e.g., 1000-1200 watts) will cook faster than lower wattage models (e.g., 700-900 watts).
*
Size and Freshness of Corn: Larger, denser ears might require a little more time. Very fresh, tender corn tends to cook quicker.
*
Fresh vs. Frozen: Frozen corn will naturally take longer to cook than fresh corn, as it first needs to thaw and then cook.
Here's a general guide for
fresh, medium-sized ears, assuming a standard 1000-1200 watt microwave:
For Corn Cooked in the Husk:
This method is generally very consistent at 4 minutes per ear.
*
1 ear: 4 minutes
*
2 ears: 8 minutes
*
3 ears: 12 minutes
*
4 ears: 16 minutes
Important Note: If you're cooking more than 4 ears, it's highly recommended to cook them in batches for the best results. Overcrowding the microwave can lead to uneven cooking.
For Shucked Corn Wrapped in a Damp Paper Towel:
This method is often quicker for individual ears.
*
1 medium ear: 2-5 minutes
*
2 medium ears: 4-7 minutes
How to Tell if Your Corn is Done:
Regardless of the method, perfectly cooked corn should be tender, bright yellow, and steaming hot. If microwaving in the husk, the kernels should feel slightly softened when gently squeezed (through the husk). If shucked, a quick poke with a fork should confirm tenderness. If it still feels a bit firm or isn't steaming hot, add another 30-60 seconds and check again.
Tips for Perfectly Microwaved Corn Every Time
Achieving consistently delicious results with your
microwave corn on the cob is easy with a few extra tips:
*
Picking the Best Corn: The cooking starts at the grocery store or farmer's market.
* Look for husks that are
bright green and tightly wrapped around the cob.
* Feel for
plump, firm kernels all the way to the tip without peeking (which dries out the corn and is generally frowned upon).
* Check the silk: it should be
slightly damp, sticky, and light brown or golden. Avoid corn with dry or black silk, as this indicates older corn.
*
Allow for Resting Time: Just like with meats, resting time is crucial for corn. After microwaving, let the corn sit for 2-3 minutes. This allows the internal steam to continue cooking the kernels gently and ensures the heat distributes evenly, resulting in a more tender and juicy bite. It also makes the corn safer to handle.
*
Seasoning is Key: Once cooked, serve your corn hot with your favorite seasonings. Classic choices include butter, salt, and black pepper. But don't hesitate to get creative! Try a squeeze of lime juice with chili powder, a sprinkle of smoked paprika, fresh herbs like cilantro or parsley, or even a dash of grated Parmesan cheese.
*
Batch Cooking for Crowds: While the microwave is fantastic for small batches, if you're feeding a crowd, consider cooking corn in multiple batches or using a combination of methods (e.g., microwave a few ears while others boil or grill). Overloading the microwave will lead to undercooked or unevenly cooked corn.
*
Don't Overcook: While forgiving, overcooking corn can lead to tough, chewy kernels. It’s better to undercook slightly and add more time than to overcook from the start. Trust the recommended times and check for doneness.
*
Enjoy Year-Round: Don't limit your enjoyment of sweet corn to summer! When corn is in season, buy extra, blanch it briefly, then cut the kernels off the cob or freeze whole ears (after shucking or leaving the husk on) in airtight plastic bags. You can then pull out a single ear of frozen corn in the cold winter months and microwave it, enjoying that sweet taste of summer throughout the year.
Microwaving corn on the cob is a simple yet revolutionary way to prepare this beloved vegetable. Its speed, convenience, and consistent results make it an essential technique for any home cook. With these methods and tips, you can enjoy perfectly cooked, juicy corn whenever the craving strikes, without the fuss or wait of traditional cooking. Give it a try – you might just wonder why you ever cooked corn any other way!