Imagine biting into a perfectly cooked ear of sweet corn, bursting with juicy flavor, without the hassle of firing up a grill or waiting for a massive pot of water to boil. Sounds like a dream, right? Thanks to the magic of your microwave, this culinary fantasy is now a simple reality! Learning how to prepare microwave corn on the cob is a game-changer for quick meals, effortless side dishes, and enjoying that summer sweetness any time of year.
This comprehensive guide will walk you through everything you need to know, from selecting the best ears to two distinct methods of cooking, ensuring you achieve tender, delicious corn every single time. Say goodbye to sticky messes and lengthy cooking times – your microwave is about to become your new best friend for corn on the cob!
Why Microwave Corn on the Cob? The Ultimate Convenience
The microwave often gets a bad rap, but for corn on the cob, it’s an unsung hero. Forget the days of crowded stovetops, steaming up your kitchen, or battling stubborn silks. Microwaving offers a multitude of benefits that make it the smartest choice for busy home cooks:
- Unbeatable Speed: Fresh corn can be ready in as little as 2-5 minutes per ear, a fraction of the time it takes to boil or grill.
- Effortless Cleanup: Especially with the in-husk method, you'll minimize prep and post-meal scrubbing. The husk acts as its own cooking vessel, locking in flavor and moisture while keeping your kitchen sparkling.
- Perfect for Any Batch Size: Whether you’re cooking a single ear for a solo lunch or a few for a family dinner, the microwave scales perfectly without needing a huge pot of water for just one ear.
- Retains Moisture & Flavor: The microwave creates a steamy environment that gently cooks the corn, preserving its natural sweetness and juicy texture far better than direct boiling.
- Keeps Your Kitchen Cool: Ideal for hot summer days when turning on the stove or oven is the last thing you want to do.
It's not just fast; it's a superior cooking method that ensures a tender, sweet result every single time. Ready to dive in?
Two Simple Ways to Microwave Corn on the Cob
There are two primary methods for cooking microwave corn on the cob, each offering unique advantages. We'll break down both, so you can choose the one that best suits your preference and available time.
Method 1: The Wet Paper Towel Technique (Shucked Corn)
This method is fantastic if you prefer to shuck your corn beforehand or are using frozen, already shucked ears.
- Prepare Your Corn: First, shuck the corn, removing all the husk and silks. Rinse the ear briefly under cold water if desired.
- Dampen a Paper Towel: Take one sheet of paper towel and run it under water until it's thoroughly damp but not dripping wet. Squeeze out any excess water.
- Wrap It Up: Tightly wrap each shucked ear of corn individually in the damp paper towel. The moisture from the towel will create steam, ensuring even cooking and tenderness.
- Microwave: Place the wrapped corn directly onto your microwave-safe plate.
- Cook: Microwave on high for 2-3 minutes for one ear. If cooking two ears, increase the time to 4-5 minutes, flipping halfway through. Cooking more than two ears at once might require slightly longer or batch cooking for the best results.
- Rest & Serve: Carefully unwrap the hot corn (use tongs or an oven mitt!). It's ready to be buttered, salted, and enjoyed!
Pro Tip: This method is excellent for re-heating leftover cooked corn too!
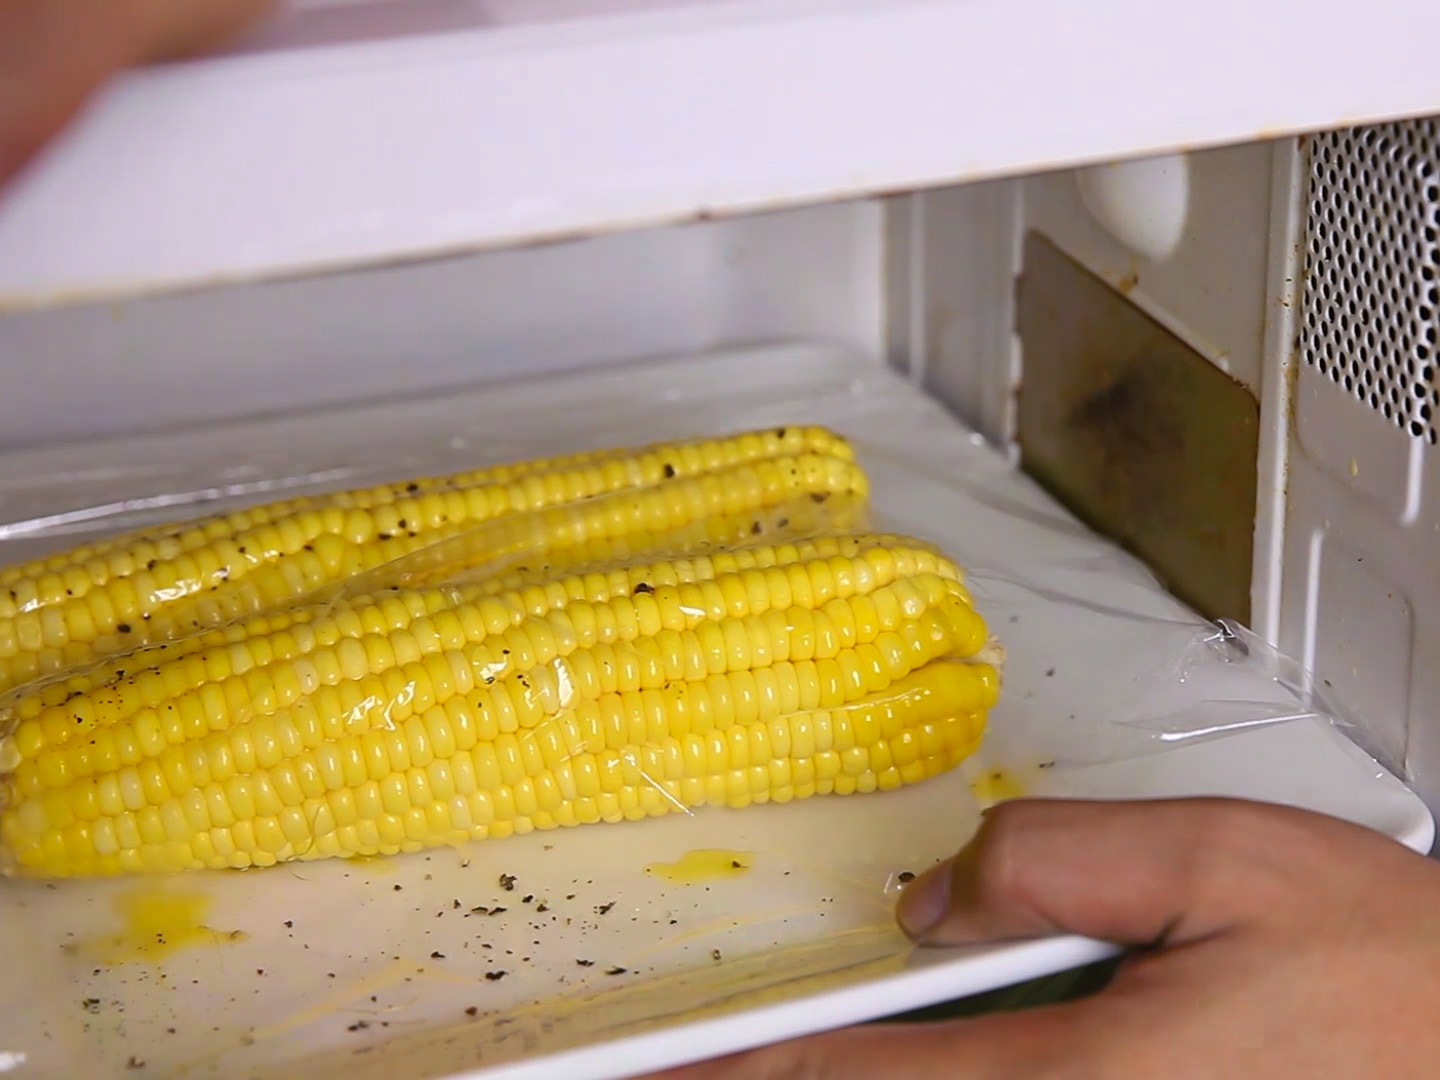
Method 2: The In-Husk Marvel (For Ultimate Ease & Flavor)
This is arguably the most popular and mess-free way to cook microwave corn on the cob. Cooking corn in its husk turns your microwave into a super-efficient steamer, locking in moisture and making silk removal incredibly easy after cooking. For a comprehensive guide on this technique, you can also refer to our detailed article on Cook Corn in the Husk: Juicy Microwave Method, No Mess!
- Minimal Prep: Leave the husk on! You can trim off any excess stalk at the bottom if it's too long, but don't remove the husk or silks. You want the corn fully encased.
- Microwave on High: Place 1-4 ears directly into the microwave. There’s no need to wrap them or add water.
- Cook: The general rule of thumb is 4 minutes per ear.
- 1 ear = 4 minutes
- 2 ears = 8 minutes
- 3 ears = 12 minutes
- 4 ears = 16 minutes
- Rest: Once cooked, carefully remove the hot ears from the microwave. Let them rest for 1-2 minutes. This brief cooling period helps steam equalize and makes handling easier.
- Easy Husk & Silk Removal: Here's the magic!
- Using a sharp chef's knife, carefully slice off the bottom (stalk end) of the ear, cutting through about 1-2 rows of kernels.
- Hold the top (tapered) end of the corn firmly.
- Gently squeeze the corn from the top, pushing it out through the cut bottom. The cooked ear will slide out cleanly, leaving the husk and almost all the silks behind in one neat package.
- Serve: Your perfectly steamed, juicy corn is ready for your favorite toppings!
Why it works: The husk traps steam generated by the corn's natural moisture, creating a perfect steaming environment. This gentle cooking method ensures every kernel is plump, sweet, and incredibly tender.
Mastering Microwave Cook Times for Perfect Corn
While the general guidelines above are excellent starting points, the exact cooking time for your microwave corn on the cob can vary based on a few factors:
- Microwave Wattage: Higher wattage microwaves (1000W+) will cook faster than lower wattage models (700-900W). If your corn isn't as hot or tender as desired after the recommended time, add another 30-60 seconds.
- Size of the Ear: Larger, thicker ears of corn will naturally require a little more time than smaller, thinner ones.
- Freshness: Very fresh, high-moisture corn tends to cook a bit faster and more evenly.
- Number of Ears: As noted, cooking multiple ears increases the overall time required.
Always err on the side of caution and check for doneness. A perfectly cooked ear of corn should be bright yellow (if a yellow variety), tender to the bite, and steaming hot. For more detailed timing tips and troubleshooting, check out our guide on How Long to Microwave Corn? Perfect Cook Times & Tips.
Pro Tips for the Best Microwave Corn on the Cob
Elevate your microwave corn game with these expert insights and actionable advice.
Selecting the Sweetest Corn (Without Peeking)
The secret to delicious corn starts at the market. Here’s how to pick the best ears without pulling back the husk (which dries out the corn for others!):
- Husk Color: Look for husks that are vibrant green, tightly wrapped, and slightly damp. Avoid dry, yellowish, or brittle husks.
- Silk Appearance: Choose ears with silks that are slightly damp, brown, or golden, and somewhat sticky. Black or slimy silks indicate old corn, while very light, fine silks might mean it’s underripe.
- Feel the Kernels: Gently squeeze the ear through the husk. You want plump, firm kernels all the way to the tip. Avoid ears with soft spots or gaps.
- Stalk End: The cut end of the stalk should be light-colored and not too dried out, indicating freshness.
Seasoning & Serving Suggestions
While classic butter, salt, and pepper are always a hit, don't be afraid to get creative with your microwave corn on the cob:
- Mexican Street Corn (Elote-inspired): Spread with mayonnaise or sour cream, sprinkle with crumbled cotija cheese, chili powder, and a squeeze of lime juice.
- Herb Butter: Mix softened butter with chopped fresh herbs like chives, parsley, or cilantro.
- Spicy Kick: A drizzle of hot sauce, a sprinkle of cayenne pepper, or chili flakes.
- Garlic Parmesan: Melted butter mixed with minced garlic and grated Parmesan cheese.
- Sweet & Savory: A sprinkle of brown sugar and a dash of smoked paprika.
Freezing Corn for Year-Round Enjoyment
Don't let summer's bounty go to waste! You can easily freeze fresh corn on the cob to enjoy later:
- Brief Blanch: Briefly blanch fresh, shucked corn in boiling water for 2-3 minutes. This stops enzyme action and preserves flavor.
- Ice Bath: Immediately transfer blanched corn to an ice bath to stop the cooking process.
- Dry Thoroughly: Pat the ears completely dry. Moisture can cause freezer burn.
- Wrap & Freeze: Wrap each ear tightly in plastic wrap, then place them in freezer-safe bags, removing as much air as possible. Label and date.
- Cooking from Frozen: When ready to enjoy, you can microwave a single frozen ear (shucked) wrapped in a damp paper towel for 5-7 minutes, or until hot and tender. Add a minute or two for corn microwaved in the husk from frozen.
Safety First: Handling Hot Corn
Remember that corn fresh out of the microwave will be extremely hot, especially with the in-husk method where steam is trapped. Always use tongs or an oven mitt to handle the corn, and allow it to cool for a minute or two before attempting to shuck or eat it.
Microwaving corn on the cob is a culinary secret that simplifies meal prep without sacrificing flavor. Whether you choose the quick damp paper towel method or the incredibly clean in-husk technique, you're guaranteed a delicious, tender, and sweet outcome every time. So next time you crave that irresistible taste of summer, reach for your microwave and enjoy perfectly cooked corn on the cob in mere minutes!
